|
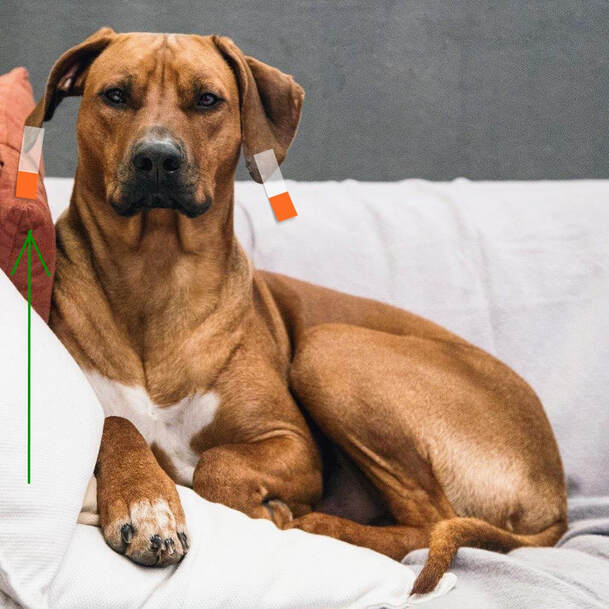
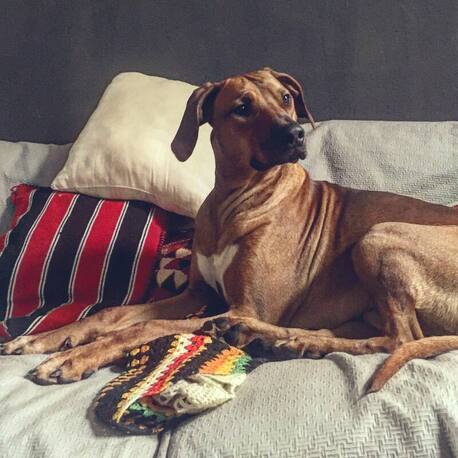
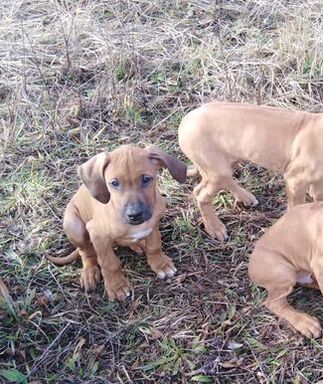
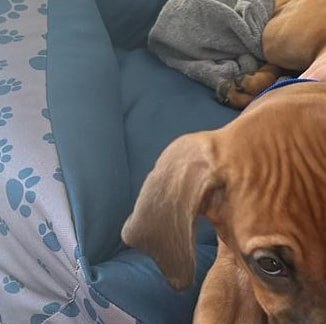
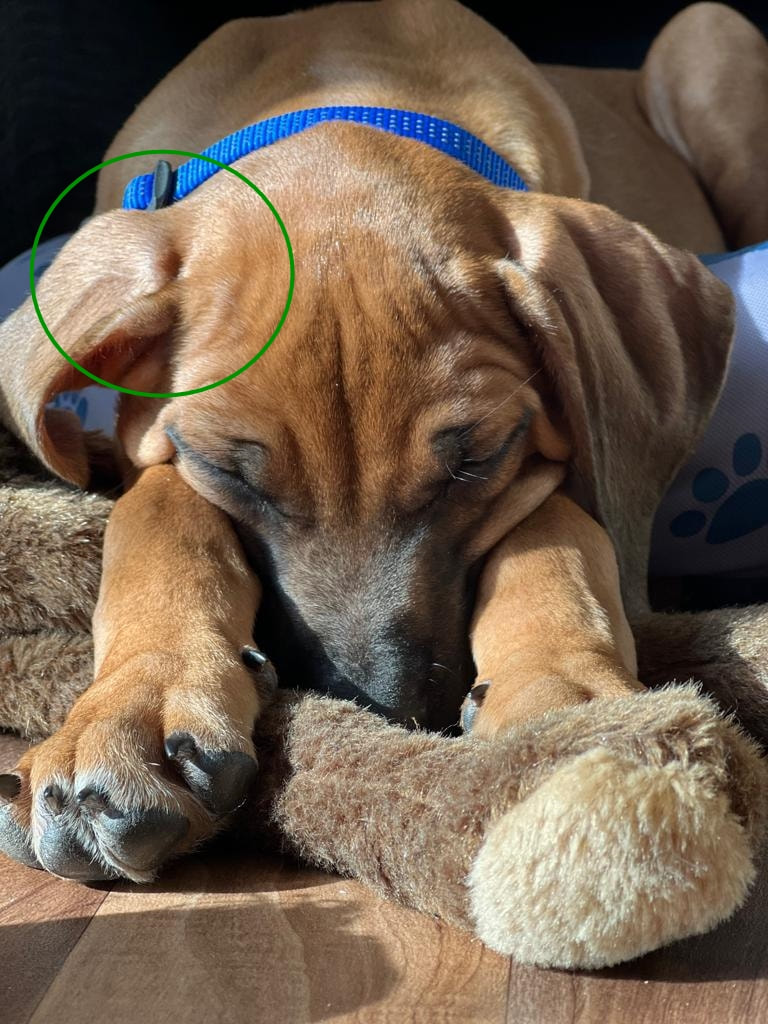
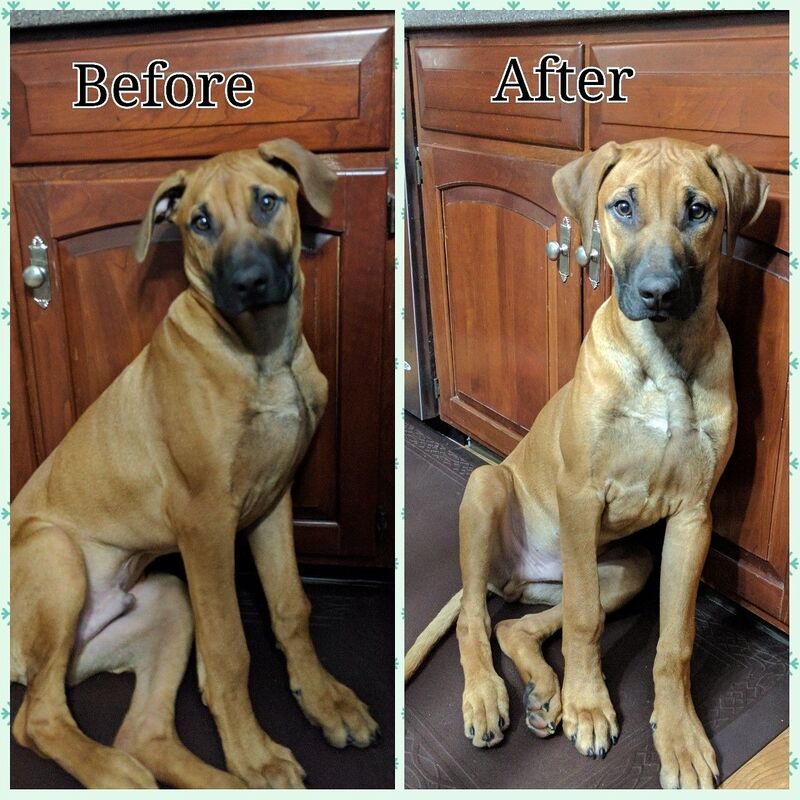
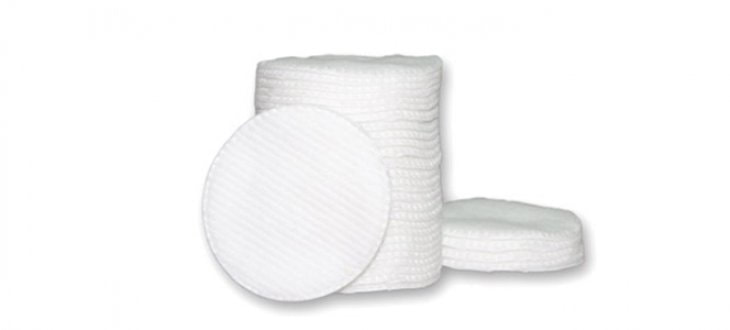
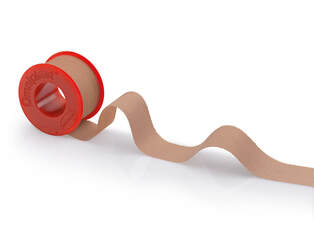
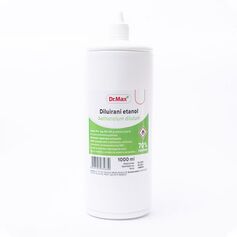
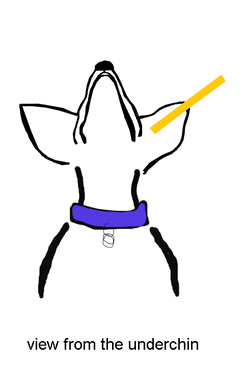
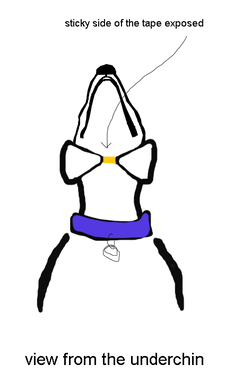
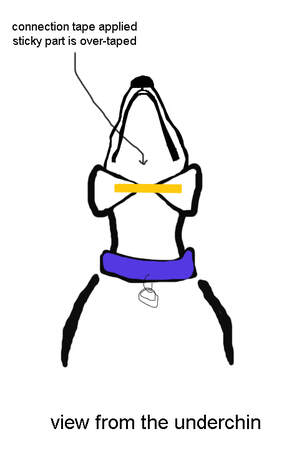
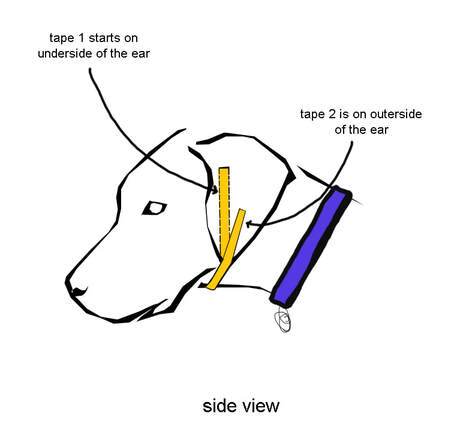
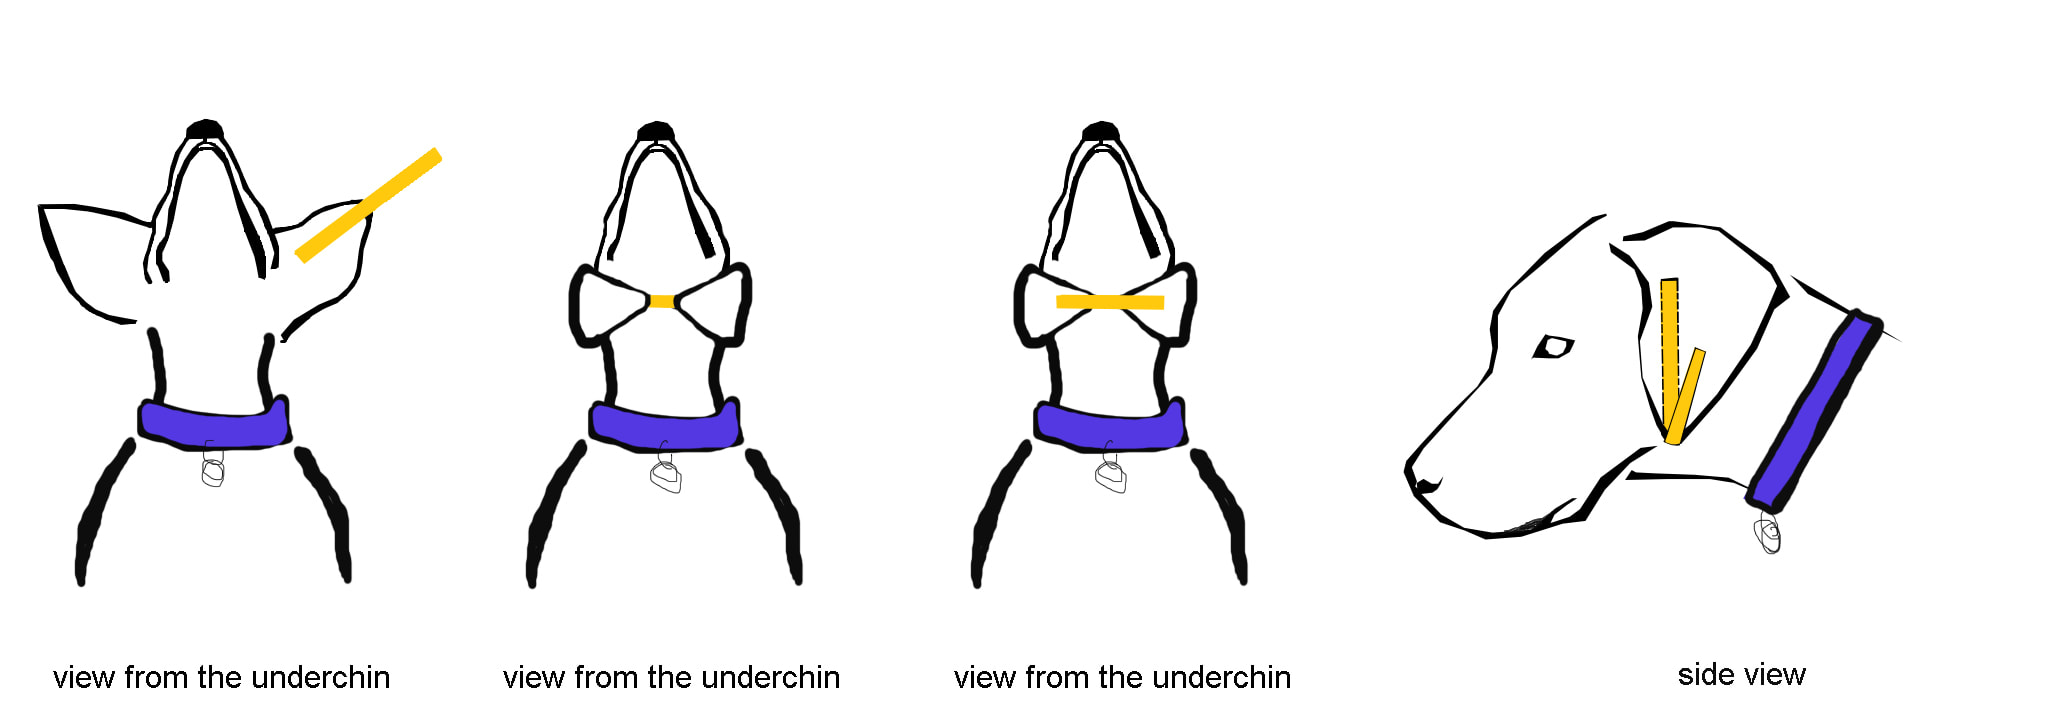
You probably ask yourself. Ear taping? What do you mean ear taping? This is an adult male which ear has not been taped. It was not a strong "flying nun" ear so the ear sometimes fly away when he is alerted. When he is calm, his ears are on the proper position. This was pretty good outcome. In some other more extreme cases both ears are in the air all the tame. This is why we can use tape in puppy age to fix this. Ridgeback puppies grow like mushrooms after the rain and that growth is intense. During growth, the cartilages on the ears sometimes think that they can grow in their own way and stop listening to the rest of the body and go the wrong way. You will notice this if your puppy's ears are not set/laid symmetrically and if one or both ears start to literally levitate and separate from the skull up and on the side. Puppy with the "nun flying" ear All this happens and can happen in the stages before the teeth change, and if you don't want "Dumbo the elephant", this stage is the most important in order to make a correction. In the phase before the complete change of teeth, ear taping occurs if you want your dog to have nicely carried ears (on proper position). This procedure is most similar to wearing braces for children's teeth :) Once the dentition of your puppy is finished, it will not be possible to correct this and your dog will stay Mr.Sideway-Ear Sometimes the ear sattle down by itself and comes on the good place but sometimes not. When the ear is not flying too much, it is enough to massage the root of the ear gently and to push ears down to skull (from the root to the top of the ear) while petting your pupp. (like you want to gkue the ears on cheeks). Also in this period it would be great if you could add to the puppy food rose hip powder which is rich with vitamin C and helps the cartilages. Ear Taping is nothing horrible or paintful for your puppy, it doesn't take long and the results are more than excellent. Normally you should tape your ears 3-4 days, after this remove the tape for several days to rest the ears and see if they "remember" the place where they should normally be. If ears still fly, repeat this as long as the ears sattle down....Some dogs need more, and some less time but result will be absolutely visible. Mr. Blue after 4 days of Ear Taping photo credit: Jenmy Pelletier For ear taping you will need: Naughty ears :) Alcochol Cotton balls or pads Tape Baby oil STEP BY STEP - EAR TAPING 1 Clean both sides of the puppy ear. Underside and topside should be cleaned with alcochol so you take away dirt and oil of the skin and the fur. This will ensure that the tape sticks well. Be careful with alcochol. Put it on the cotton pads and try that alcochol does not end in puppy ear canal or eyes. 2 Dry the ears! Alcochol will dry up fast but you can use dry cotton pad or paper to dry it up completely. 3 Roughly measure the lenght of the ear by puting the tape stripe beside the ear. The tape should be long as the ear x 2, and then add 1 more lenght which will be bellow the jaw between 2 ears connected. Look at the drawing so you may better understand all lenghts and positioning of the tape on the ears. 4 Apply the tape on the underside of the first ear. Massage it gently and press it so it may stick good to the skin of the ear so you may ensure good contact. Then bring the tape under the jaw (with sticky side of the tape exposed outwards) and apply on the underside of the second ear. Massage the tape again so you get the good contact within tape and the ear. When applying the tape, it should be applied closer to the front edge of the ear (the edge nearest the eye) than directly down the middle. This will allow the ear to fold down the center more naturally. 5 Check the positioning of the ears after taping. The both ear tips should be the last point of contact on the tape and completely simetrical. 6 Now you have sticky part of the tape between the ears facing outwards. You need to cover it with other tape. Measure how long this connection part (between ear tips) of the tape is, and then prepare a new tape that is few centimeters longer. With this you will ensure excess runnig up the fur side (outer side) of both ears. It is not necessary that you run this to the top/root part of the outer ear and that this tape follows the lenght of the tape which is positioned under the ears. It can be shorter. You should again massage the tape to ensure good contact. 7 After 3-4 days you should remove the tape so the ears can relax. It will be super if the ears remembered the proper position, but if not, repeat this procedure in 3-5 days and do so as long as this naughty ears understand where their proper place is. Ater taking off the tape there will be some waxy leftovers on the ear. Use the baby oil and take it off with oiled cotton pad. Oil is melting all waxy things. There will be some reddering on the places where the tape was applied, it is nothing to be concerned because this will go away. VIDEO TUTORIAL
0 Comments
Leave a Reply. |
AuthorMaja Kljaić Archives
February 2023
Categories
All
|
|
UZGAJIVAČNICA RODEZIJSKIH RIĐBEKA
RHODESIAN RIDGEBACK KENNEL NEOMELE ul.1.maja 70 Reka, 48 000 Koprivnica CROATIA |
ⓒ 2024 NEOMELE - RHODESIAN RIDGEBACKS
All content and data on this website is protected by copyright.
No part of this website may be used, reproduced or utilized in any form or by any means, electronic or mechanical, without permission in writing from
Neomele kennel/Maja Kljaic & Lela Trescec.
All content and data on this website is protected by copyright.
No part of this website may be used, reproduced or utilized in any form or by any means, electronic or mechanical, without permission in writing from
Neomele kennel/Maja Kljaic & Lela Trescec.

